Last updated November 21, 2026
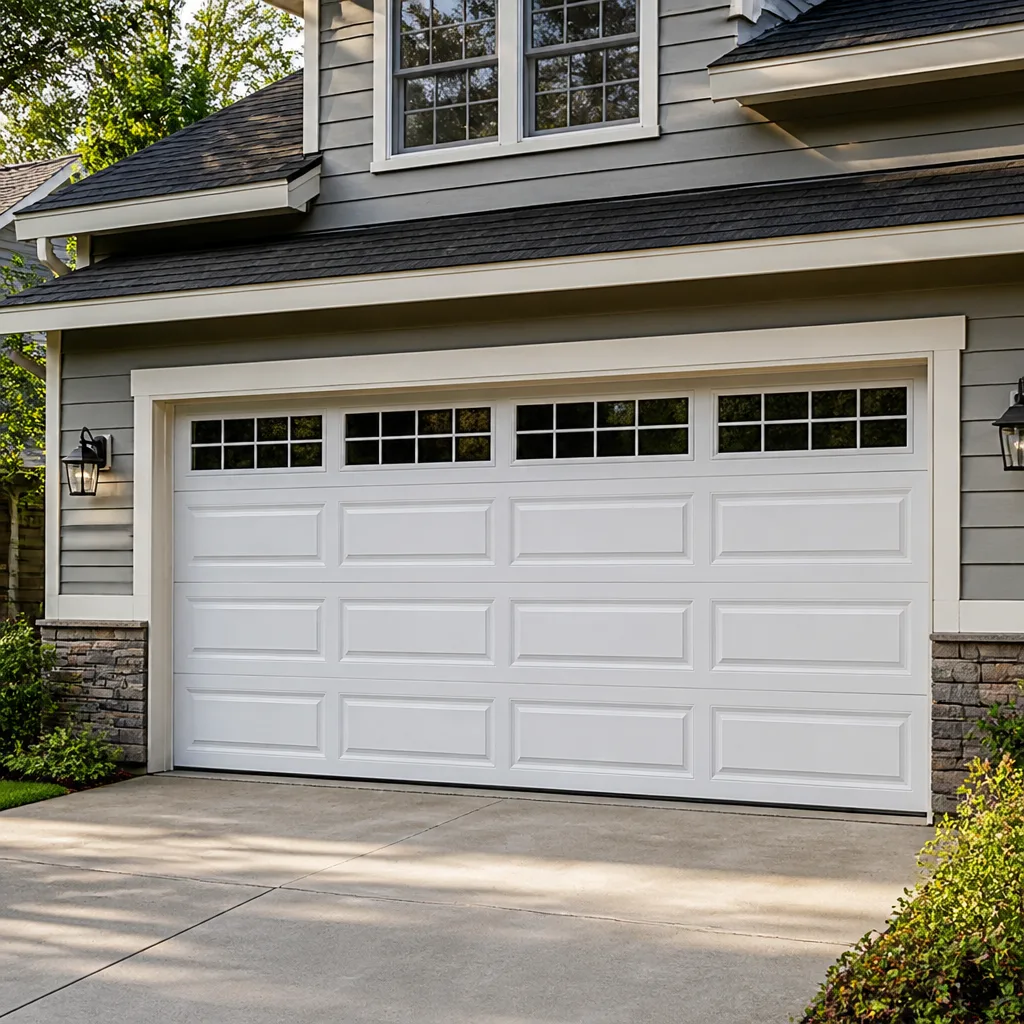 Raised-panel steel
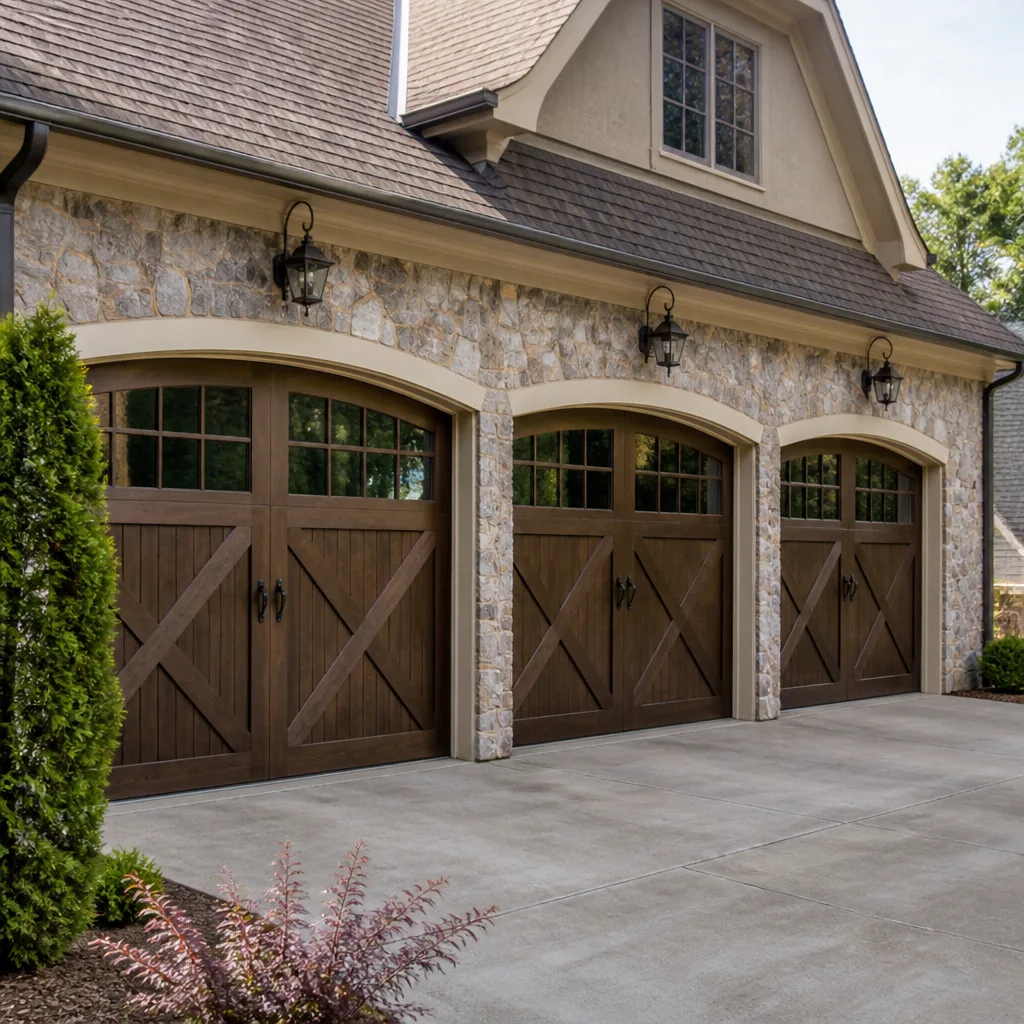 Carriage house
 Modern flush
 Full-view glass
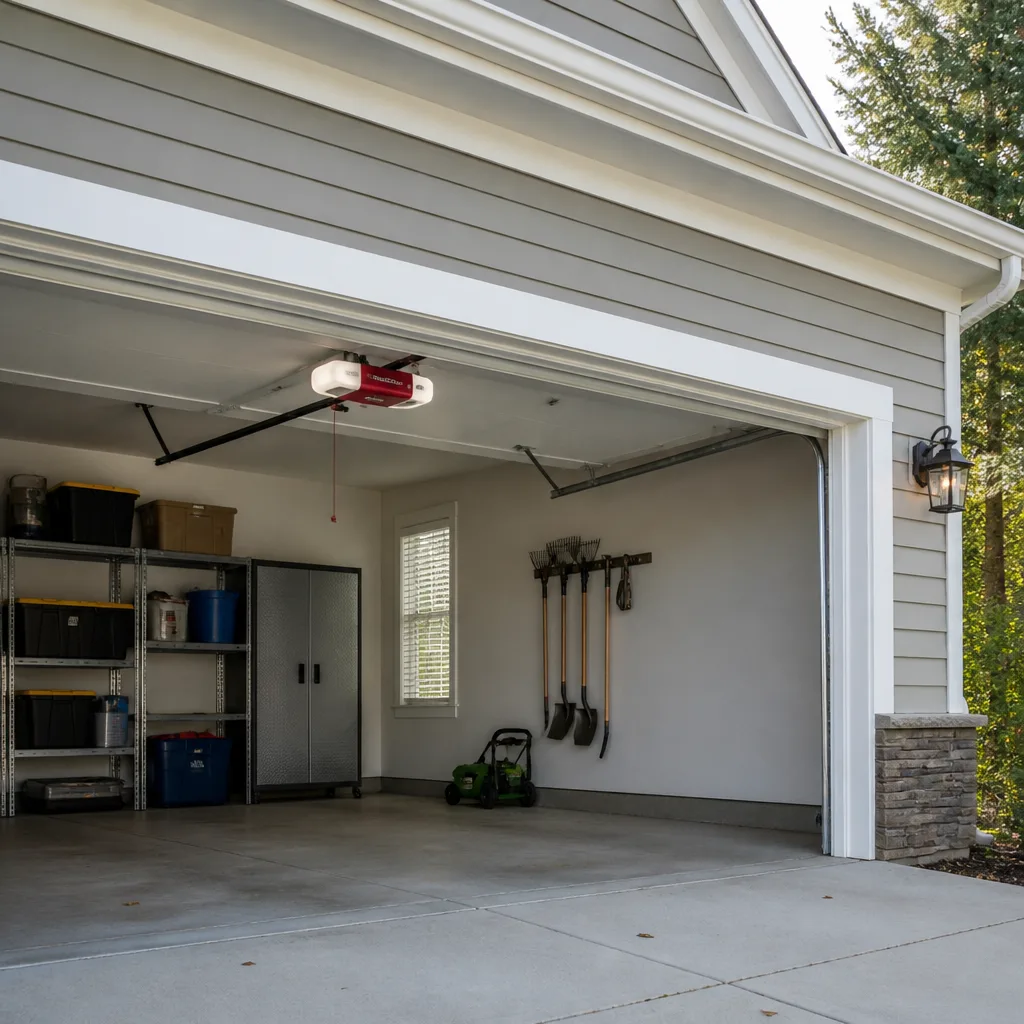 LiftMaster openers
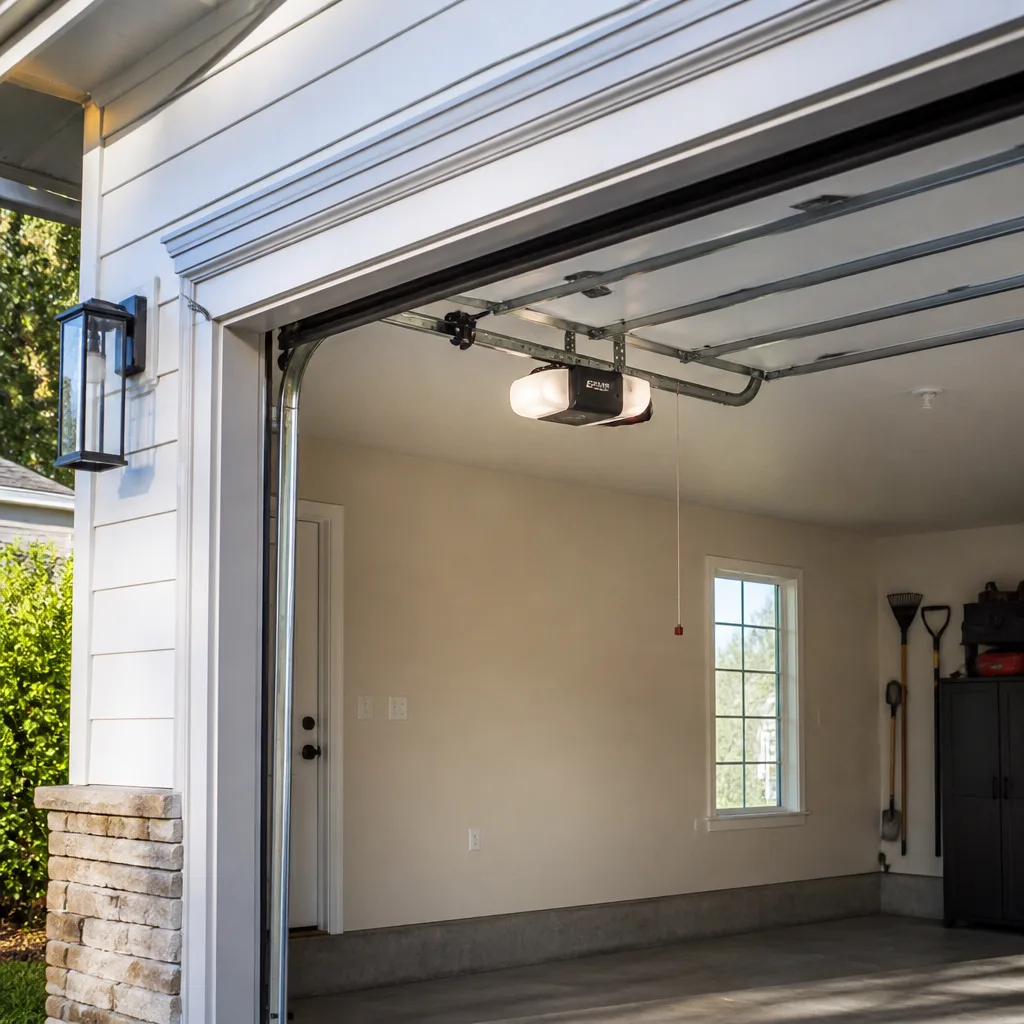 Chamberlain openers
Full 25-point door and opener safety check with every visit - springs, cables, rollers, tracks, and your LiftMaster or Chamberlain opener included
You get a price before we start. It does not change when the pro arrives.
Get your free estimateDIY vs Professional Garage Door: The Roslindale Homeowner’s Decision Guide
Most advice on this topic picks a side before it looks at the question. Either every garage door job is a death trap, or a homeowner with a Saturday and a socket set can do it all. Neither is true. The real line isn’t about courage or skill level. It’s about which specific tasks store or release enough energy to hurt you no matter how careful you are, and which ones a mechanically inclined homeowner can genuinely finish in an afternoon. This guide draws that line task by task, so you know which category you’re in before you buy a single part or loosen a single bolt. We’re writing it from Roslindale, where the old housing stock and freeze-thaw winters shape what actually goes wrong with doors around here.
Quick Answer
You can safely handle bottom seals, weatherstripping, roller replacement, keypad programming, photo-eye alignment, and lubrication yourself. You should never touch torsion springs, cables, bottom brackets, or the winding cones on your own, because those parts hold deadly stored force. Track alignment, opener logic boards, and full door replacement are jobs for a trained technician. Everything in between is a judgment call this guide walks you through.
Styles & brands we work with
- Raised-panel steel
- Carriage house
- Modern flush
- Full-view glass
- LiftMaster openers
- Chamberlain openers
Table of Contents
- Why the Real Line Isn’t Skill, It’s Stored Energy
- The Safe DIY List: Jobs Worth Doing Yourself
- DIY With Risk: Proceed Only If You Understand the Trade
- Never DIY, Regardless of Experience Level
- Getting the Right Parts in Roslindale
- The Hidden Cost of a Failed DIY Repair
- Why Bottom Seals and Weatherstripping Are Worth Doing Yourself
- The Liability Question Nobody Explains Well
Why the Real Line Isn’t Skill, It’s Stored Energy
A torsion spring is a coiled steel bar holding back hundreds of pounds of force. When it’s under tension, that force is waiting for any release – a slipped winding bar, a cable that jumps a drum, a bracket that lets go. The reason spring work is dangerous isn’t that technicians are braver than you. It’s that the energy in a wound spring doesn’t care how careful you are. It only cares whether you’ve done this hundreds of times and respect it every time.
We’ve seen this dynamic play out across Roslindale’s housing. A lot of the homes here date to the early 1900s, and plenty have detached or attached garages that have been retrofitted with new doors over the decades. A door on an older frame can have spring issues that look identical to a newer door but behave differently once you start winding. Age of the door doesn’t change the physics. It changes the odds that something is seized, rusted, or already compromised underneath.
Here’s the principle worth internalizing: any task that involves releasing or storing energy in a spring or cable is a one-way door. Once you start and something goes wrong, you’re not in a DIY project anymore. You’re in an emergency call. That isn’t a scare tactic. It’s how the machine is built.
The good news is that a large share of garage door work doesn’t involve stored energy at all. Weatherstripping, seals, rollers, remotes, lubrication, and visual inspections are all jobs a reasonably handy homeowner can do well. The trick is sorting tasks into three buckets before you start.
The Safe DIY List: Jobs Worth Doing Yourself
These are tasks where the door is at rest, the energy is neutralized, and the worst outcome is a crooked seal or a roller that still squeaks. You don’t need a technician to do them, and doing them yourself saves real money.
- Bottom seal and threshold replacement – the rubber strip along the bottom edge of the door. It pulls out of a channel and slides back in on most modern doors. No stored energy involved.
- Perimeter weatherstripping and side/top seals – the trim around the opening, not the door itself. Nail or staple into the jamb, done.
- Roller replacement – with the door fully open and the tension neutral (open the door, then disengage the opener), rollers slide out of the hinge brackets with a screwdriver.
- Keypad and remote programming – a homeowner task, and the manual for your LiftMaster, Chamberlain, or Craftsman opener spells out the sequence. No ladder required for most of these.
- Photo-eye alignment and cleaning – the two small sensors near the floor. If the door reverses on its own, misaligned or dusty eyes are the first thing to check.
- Lubrication – a couple times a year on hinges, rollers, and tracks with a garage-door-rated lubricant, not WD-40, which attracts grit.
- Visual inspection – look for frayed cables, worn hinges, sagging panels, and gaps in the seal. This is a 15-minute task that catches most problems early.
For a Roslindale homeowner, the safe list covers the majority of seasonal maintenance. Our winters drive most of it: the freeze-thaw cycle pulls weatherstripping loose, and road salt tracked into the garage eats the bottom seal faster than in milder climates. Those are jobs you can stay ahead of without a service call.
DIY With Risk: Proceed Only If You Understand the Trade
These jobs aren’t automatically lethal, but they aren’t beginner work either. If you’re going to attempt them, you need to know exactly what you’re doing before you start, and you need to be honest with yourself about whether you actually do.
- Track alignment on a misaligned door – a bent track nudged back into place can work. A track that’s pulled loose from the jamb, or a door that jumps the rollers, is a sign something else is wrong and belongs with a technician.
- Panel replacement on a sectional door – doable if the door is fully open and tension is neutral, but you’re working with panels that can drop and windows that can shatter. Two people minimum.
- Opener logic board or capacitor replacement – reasonable for someone comfortable with basic electronics. Not reasonable if you’re guessing.
- Hinge replacement on heavily used doors – the hinge itself is simple; the risk is that the plate beneath it is worn, and the screws won’t re-grip without widening the hole.
- Bracket tightening after a rough cycle – safe if the door is at rest. Dangerous if the spring is still under load and you don’t realize it.
The tell is whether the door is at rest. With the door fully open and the opener disengaged, you’re working on a supported assembly. With the door closed and the spring still wound, you’re working under tension, and that’s when the DIY calculation changes. If a repair starts to look like it involves the springs or cables once you’re in, stop and call a professional.
In Roslindale, one category of “DIY with risk” comes up more than the rest: a door that’s started to bind because the frame has shifted. Old wood frames move, and a garage door that worked cleanly last winter might catch on the jamb this spring. That’s usually a track adjustment. But it can also be a warning sign that a spring is losing tension, and telling the two apart is where experience earns its keep.
Never DIY, Regardless of Experience Level
This is the category where the answer is the same for a first-time homeowner and a retired contractor. Not because you lack skill, but because the parts involved hold enough energy that a single mistake is a hospital visit or worse.
- Torsion spring replacement or adjustment – the horizontal spring above the door. Needs winding bars and specific procedures. This is the most common serious-injury job in garage doors.
- Extension spring replacement or adjustment – the springs that run along the horizontal tracks on the sides. Older doors and some Craftsman and Raynor setups still use these. The parts are smaller than torsion springs but still hold serious force.
- Cable replacement or re-winding – the steel cables spool around drums and are under tension alongside the springs. A snapped cable under load can whip with enough force to break bone.
- Bottom bracket work – the metal plates at the bottom corners where the cable attaches. Even with the door open, a misjudged bottom bracket can be under residual tension.
- Winding cone or drum work – the assemblies that hold the cable tension. These are part of the spring energy system, not separate from it.
- Full door replacement – even a door-only job involves removing a spring-loaded assembly. The panel swap itself is manageable; the spring work on the new door isn’t.
We’ve seen the aftermath of spring work that started as DIY and ended as a call: half-disassembled doors, snapped cables, and a homeowner who got lucky. The alternative – having a trained specialist handle it – isn’t overkill. It’s the bare minimum the machine requires. Roslindale Garage Door Repair handles torsion and extension spring work directly, and it’s the specialty we get called for most.
If your door is on the ground, the spring is visibly broken, or you’ve heard a bang and the door won’t lift, that’s a spring failure. Don’t try to open it manually. Call a specialist, because the door is now in an unsafe state even though it looks harmless.
Getting the Right Parts in Roslindale
Plenty of DIY garage door projects stall not because of skill but because the right part isn’t on a shelf nearby. Here’s how sourcing actually plays out in Roslindale.
What you can get locally: bottom seals, weatherstripping, rollers, hinges, remotes, keypads, and photo-eye sensors are all common enough to be available at general hardware stores and home centers in the area. Basic garage-door lubricant as well. If you’re doing one of the safe DIY jobs, you can usually have the part in hand the same day.
What usually has to be ordered: manufacturer-specific parts for branded doors and openers. A logic board for a specific LiftMaster or Chamberlain unit, a replacement hinge for a Clopay panel with a proprietary profile, or a bottom seal for a Raynor or Amarr door with a specific channel shape – these are hit-or-miss at a local store. Typical lead time is a few days to a week or two depending on the part and the brand. Custom-ordered doors and panels run longer.
This is where brand familiarity matters. We’re factory-familiar with eight of the most widely installed garage door and opener brands in the country – LiftMaster, Chamberlain, Genie, Clopay, Amarr, Wayne Dalton, Craftsman, and Raynor – which means we know what part number you actually need without trial and error. For a homeowner doing the DIY version of the same repair, that familiarity saves the two- or three-attempts pattern that ends up costing more than the part itself. Parts supply is also available directly through us for DIYers who already know what they want and just need the correct component without a third-party wait.
If you’re going to order anything, do the visual inspection first. Confirm the door’s serial plate and the opener’s model number, and match exactly. In our experience, the most common part-sourcing mistake is ordering a seal or roller that’s close enough to fit but wrong enough to fail.
The Hidden Cost of a Failed DIY Repair
The math homeowners run before starting a DIY job rarely accounts for the “undo” cost. If you get partway into a repair and it goes wrong, the next technician doesn’t just pick up where you stopped. They have to safely return the system to a workable state first, then do the original repair. That’s two jobs, not one.
Here’s how that plays out for the most common failures:
- A misadjusted spring: If a spring is wound wrong or slipped off a winding bar, a professional has to bring it fully down before they can do anything else. That’s a hazard job on its own, and it’s billed accordingly.
- Improper cable winding: A cable that’s off its drum, cross-wound, or partially unspooled has to be safely re-seated. If the cable is kinked or fatigued from the mistake, it’s replaced as well.
- A misaligned track that gets bent: Straightening a track works when it’s a small adjustment. When the door has been cycled on a bent track, the rollers, hinges, and sometimes panels are also damaged and have to be replaced together.
- A door that fell during a panel swap: Now you’re replacing panels plus whatever the fall damaged, and the springs may need re-tensioning to match the new weight.
- An opener logic board installed wrong: If the board is correct but a connector is crossed, the board can fry, and you’re buying the part twice.
The exact dollar amount varies job by job, which is why we don’t quote a generic range here. The principle is simple: an incomplete DIY repair usually costs more than the professional version would have in the first place, because you’re paying for the fix plus the undo. For jobs on the safe-DIY list, the math usually favors doing it yourself. For jobs on the never-DIY list, the math almost never does.
Why Bottom Seals and Weatherstripping Are Worth Doing Yourself
These two jobs come up more than any other in Roslindale, and they’re genuinely worth handling on your own. The freeze-thaw cycle here is hard on door seals. Water gets into small cracks, freezes, expands, and pulls the seal away from the door. By the time you notice a draft or water on the garage floor, the seal has usually been failing for a while. Replacing it is a quick job.
Here’s the actual process, not just the advice to try it:
- Identify the seal type. Most modern doors use a slide-in seal with a T-shaped or bulb profile that threads into a channel on the bottom of the door. Older doors may use a nail-on or screw-on seal. Confirm the type before buying a replacement.
- Measure the width of the door, not the opening. Order the seal to the door’s actual width, and check the channel dimensions against the new product.
- Open the door fully and disconnect the opener. The door stays open for the whole job. Never do this with the door closed and the spring under tension.
- Pull the old seal out of the channel. Slide it out from one end. If it’s stuck, work it out gradually rather than forcing it. On a slide-in seal, this is the whole removal step.
- Clean the channel. Dirt, grit, and old adhesive stop the new seal from seating correctly.
- Slide the new seal in from one end. Work along the door, keeping the seal straight. On long doors, a second person makes this much easier.
- Check the fit with the door closed. The seal should contact the floor all the way across without crushing at the ends. If the floor is uneven, a threshold seal on the floor itself can close the remaining gap.
Weatherstripping around the perimeter is similar: pull the old, clean the jamb, nail or staple the new strip into place with the flap against the door face. A 20-foot garage door takes about an hour for the bottom seal and another hour for the perimeter. That’s a job well worth doing yourself, and it will pay you back in the first cold snap.
If your seals are failing and the door is otherwise fine, this is one of the best uses of a free afternoon on a Roslindale garage. If the seals are failing because the door has sagged or the frame has shifted, seal replacement won’t fix it. That’s a garage door repair question, not a seal question.
The Liability Question Nobody Explains Well
Homeowner’s insurance generally covers direct physical damage to your home and injuries on your property, and a garage door failure that damages the house or hurts someone is usually within a standard policy’s scope. What isn’t so simple is what happens after a failed DIY repair.
If a door you repaired yourself fails and causes damage or injury, most insurers will still respond to the underlying claim, but they will want to know how the system was maintained and whether the repair contributed to the failure. A repair done with the wrong part, or a spring or cable fix that was outside the safe-DIY list, can complicate the claim and can affect how the insurer views future coverage of that system. These are general observations, not a description of any specific policy. The safest way to check how your own coverage works is to ask your insurer directly – ideally before the repair, not after.
Where the liability question changes the calculus most: springs, cables, and anything attached to them. If you self-repaired a spring and it later fails, you’re not just dealing with a broken door. You’re dealing with the liability picture for a part that failed after a non-professional repair. That’s the point where hiring a specialist stops being about convenience and starts being about protecting yourself.
For the safe-DIY list, the liability concern is minor. For anything in the never-DIY list, it’s the reason to call. That’s also why we don’t quote an hourly rate across the board for spring work – each job’s real scope only becomes clear once a technician is in front of the door.
Common Mistakes to Avoid
- Starting a repair before confirming what’s wrong. Half of the failed DIY jobs we see start with a homeowner fixing the symptom instead of the cause. If the door is binding, find out whether it’s the track, the rollers, or the spring before you touch anything.
- Buying a replacement part without matching the door or opener model. Close enough is not good enough for a seal or an opener board. Check the serial plate and the model number first, especially for a Raynor or Clopay door where channels and profiles vary by series.
- Attempting spring or cable work after watching a tutorial. The tutorials exist. The physics doesn’t change because someone filmed themselves getting lucky. Spring work is the single most dangerous part of the system, and it’s the job most likely to be declined by a general handyman.
- Ignoring a reversing door. If the opener reverses on its own, the answer is usually the photo-eyes, not the opener. Disconnect the door, check the eyes, and only replace the opener if the sensors are confirmed good. In our experience, replacing an opener before checking the eyes is one of the most common repeat-service mistakes.
- Letting a small seal leak go through a winter. In Roslindale, a failing bottom seal left through the freeze-thaw cycle lets water in and accelerates wear on the door’s bottom bracket and hinges. Fix it before the first freeze, not after.
- Overtightening hinge or track screws on old wood jambs. A lot of Roslindale garages have wood jambs that have dried out over decades. A screw driven past its grip splits the jamb and turns a five-minute fix into a rebuild.
- Working with the door closed and the spring wound. The door open, opener disengaged, is the only safe working position for anything on the safe-DIY list. Working with the door down and the spring energized is how a routine repair becomes a hospital visit.
See the difference
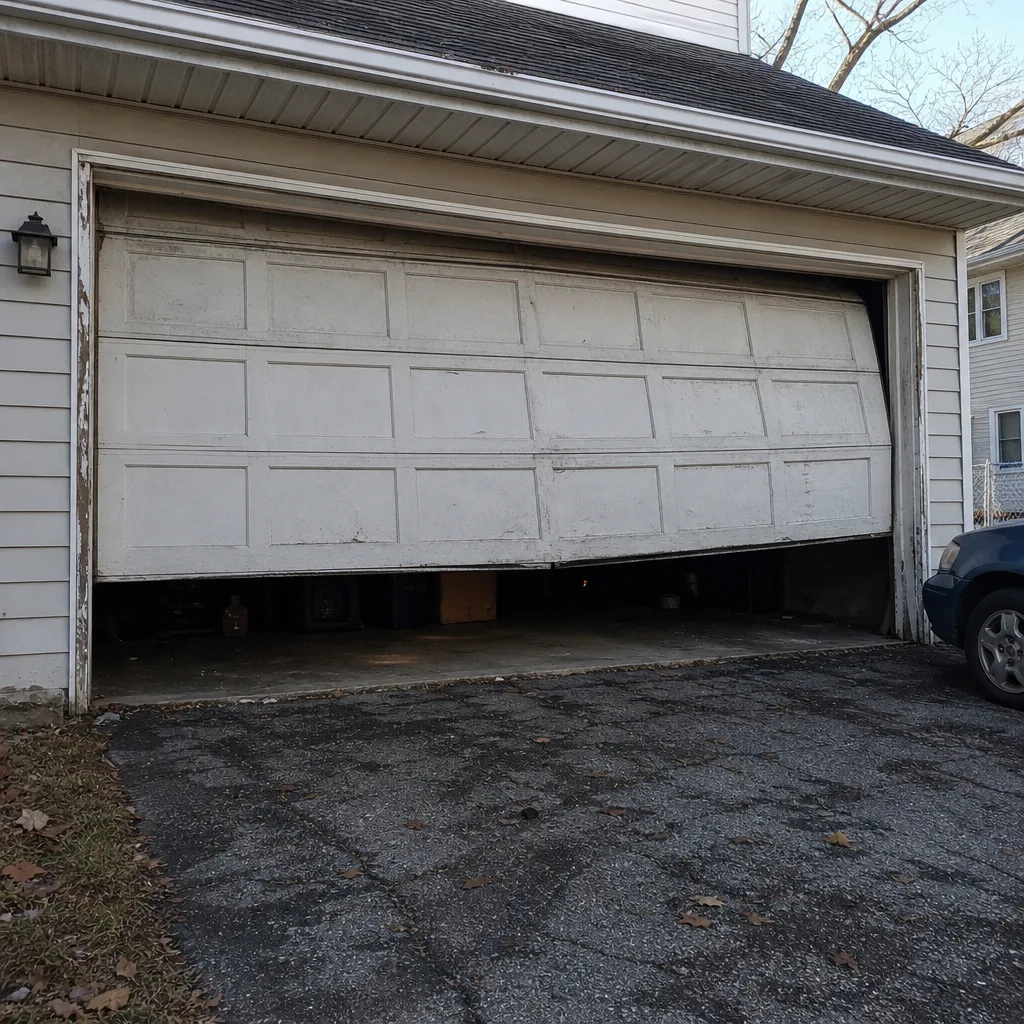 Before
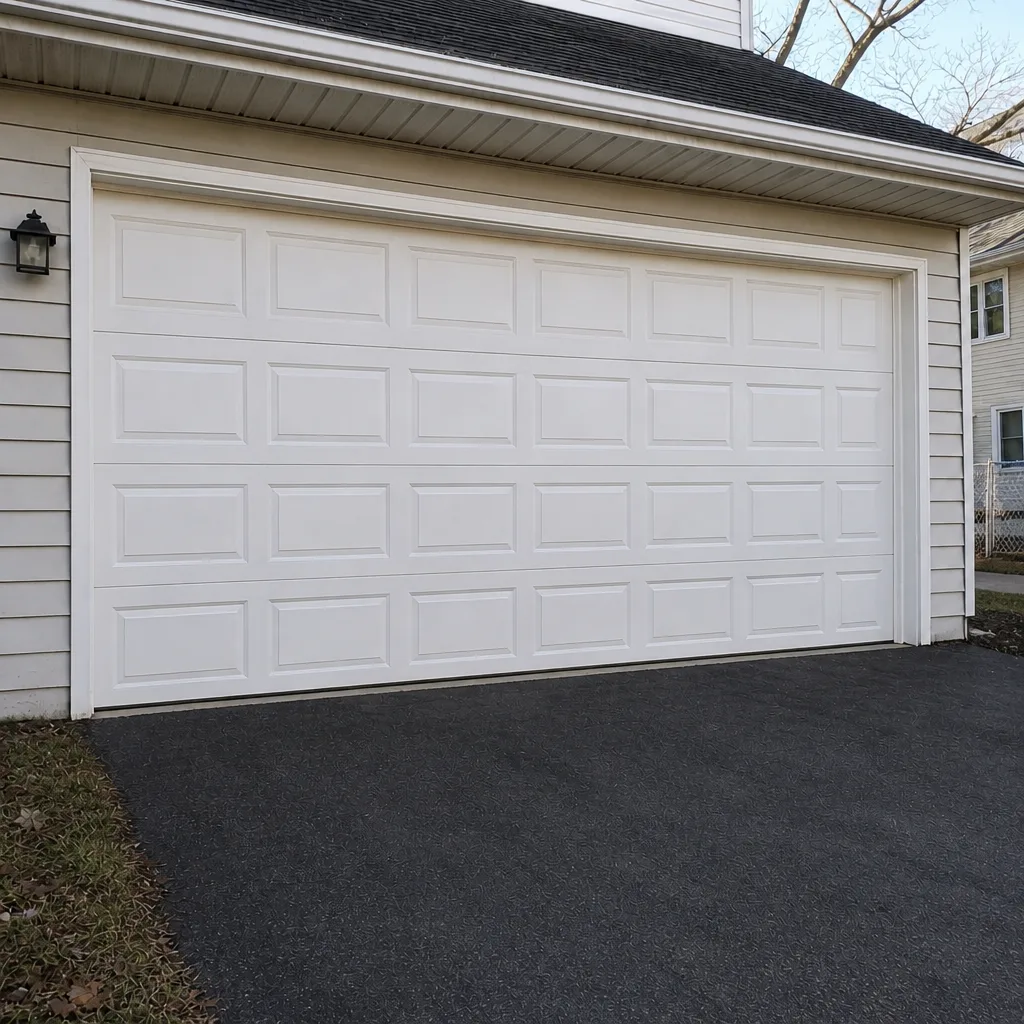 After
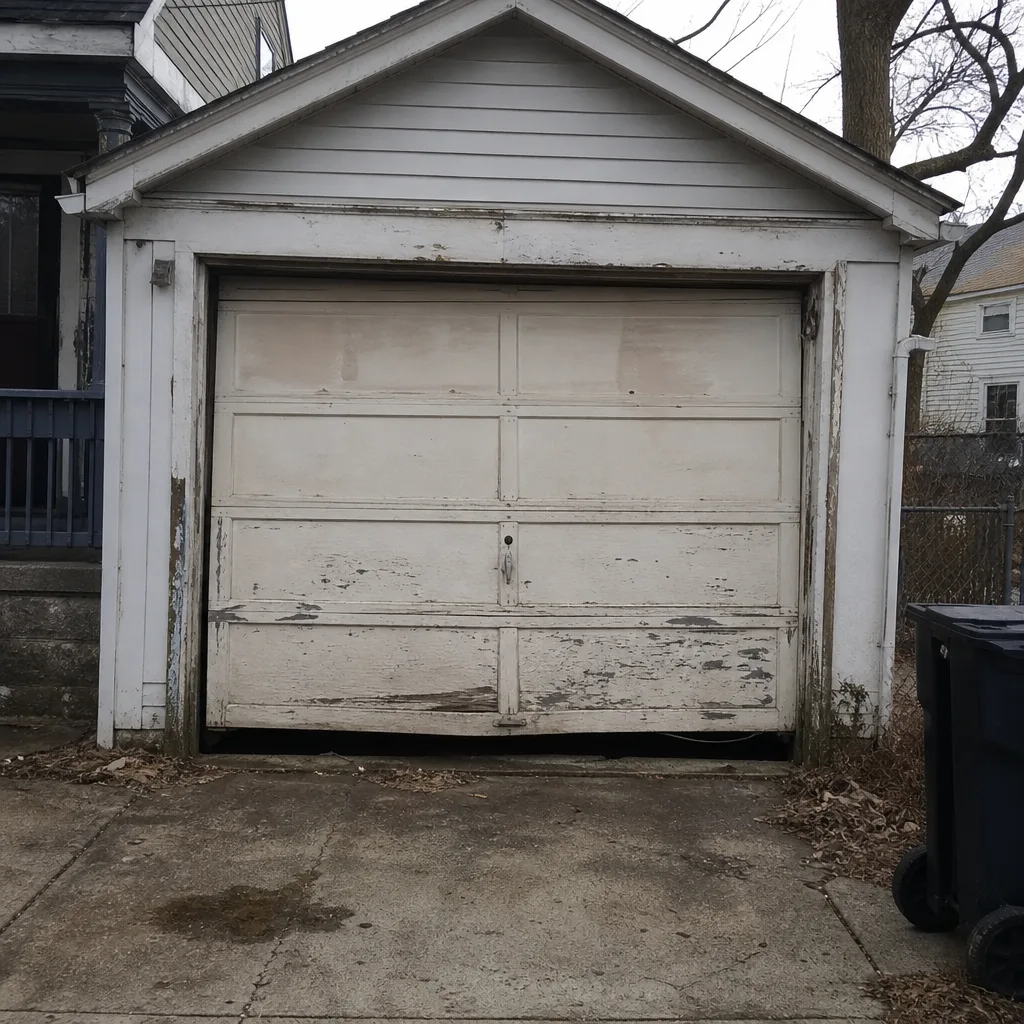 Before
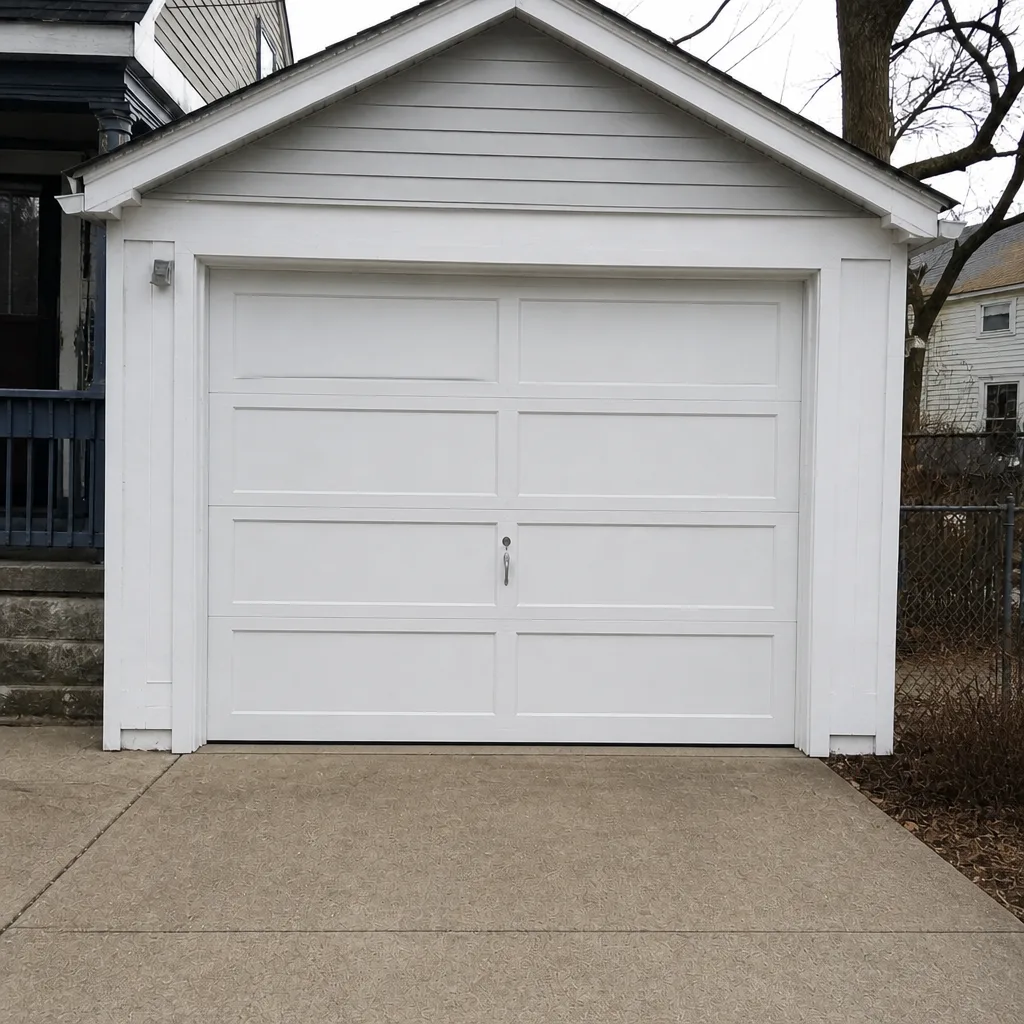 After
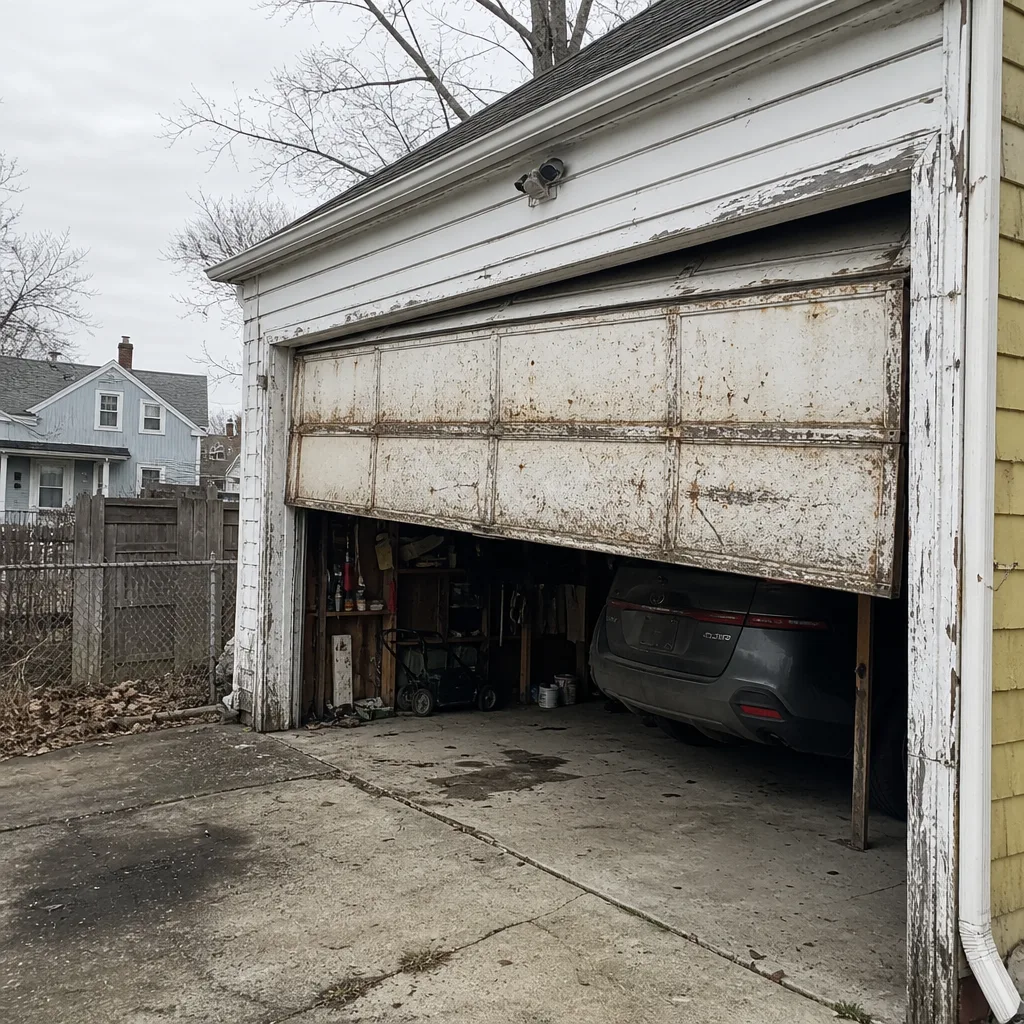 Before
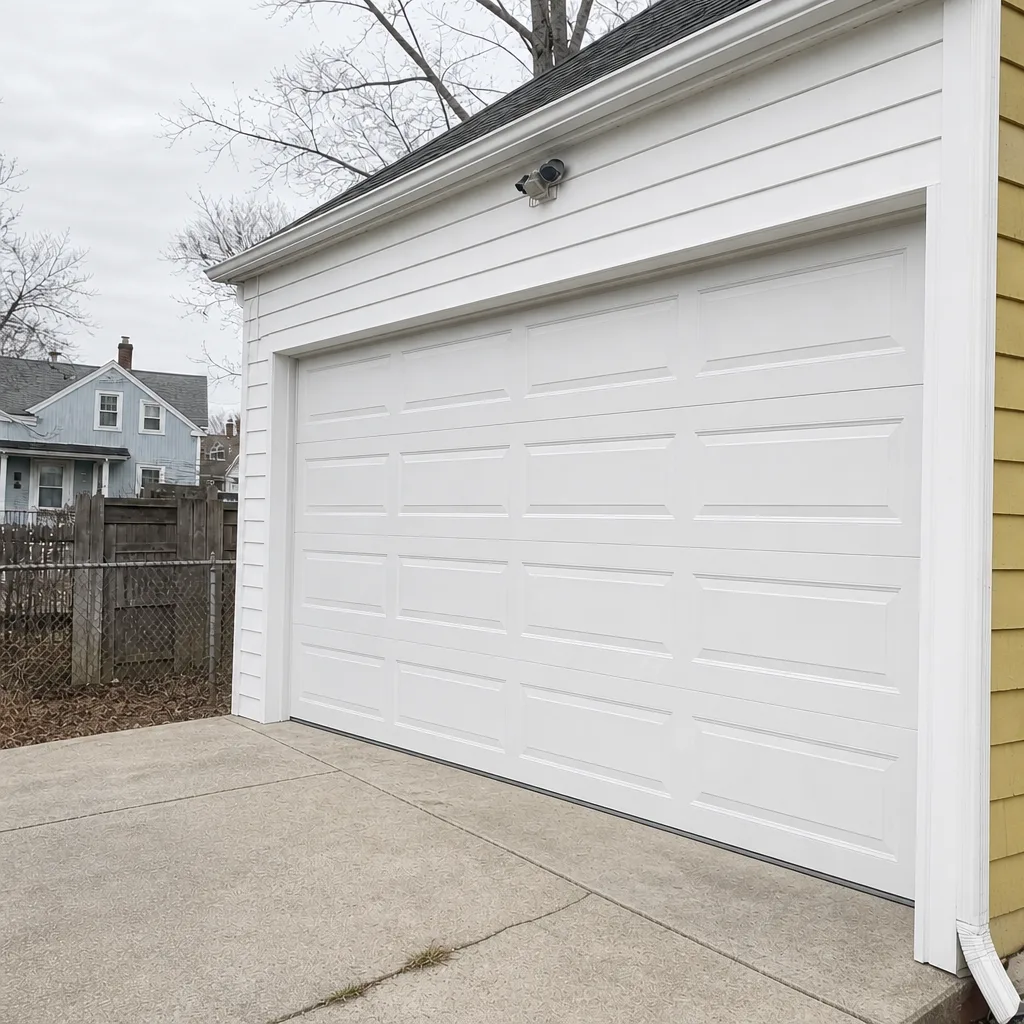 After
When to Call a Professional
Call a professional for spring work, cable work, bottom bracket work, opener board replacement that involves anything beyond a program-and-reset, and any door that has visibly dropped, jumped its track, or failed in a way you can’t otherwise explain. Call for a full door replacement, for a track that’s pulled loose from the jamb, and for anything where the door won’t move under its own opener power. If you’ve started a repair and now the door is stuck, unresponsive, or making a new sound that wasn’t there before, stop. The next step is a professional, not another attempt.
Roslindale Garage Door Repair offers free estimates in Roslindale. Our technicians have up to 14 years of experience and work exclusively on garage doors – spring repair, opener repair, new installation, and parts supply. Everything gets quoted and agreed before work starts, so the price you’re given is the price you pay. Call (844) 944-1933 for a free estimate, and we’ll tell you honestly whether the job is one to do yourself or one for us.
Frequently Asked Questions
It’s worth it for the safe-DIY list: bottom seals, weatherstripping, rollers, keypads, photo-eyes, and lubrication. It’s not worth it for springs, cables, brackets, or full replacement, because the cost of a failed attempt usually exceeds what a professional would have charged from the start. In our experience, most Roslindale homeowners do best with the seals and weatherstripping themselves and call us for anything in the spring-and-cable category.
Spring repair is quoted per job, based on the door, the spring type, and the scope once a technician is on site. We don’t publish a fixed range because torsion and extension setups differ enough that a generic number would mislead you. A pair of springs is always quoted separately from a single spring. Call (844) 944-1933 for an exact quote – estimates are free.
For urgent failures – a broken spring, a door that won’t close, a cable that’s snapped – we do our best to schedule the same day, and urgent jobs usually land within the day. Diagnostic work on early calls usually resolves the issue in a single visit because we’re familiar with the major brands. Call (844) 944-1933 for the current schedule.
No. Once we’ve looked at the door and given you a written estimate, that estimate is the price. If we discover additional damage that changes the scope, we tell you before doing the work, and you decide whether to proceed. Nothing gets added to the invoice after the fact. That applies to a Roslindale spring repair, an opener replacement, or a full install.
Stop immediately and call a professional. A door with a partially wound or half-removed spring is hazardous even at rest, and it needs a trained technician to bring it down safely before anything else happens. Don’t attempt to finish the job, and don’t try to run the opener. Call (844) 944-1933 and we’ll come out to bring it to a safe state and do the repair correctly.
The local professionals we connect you with are licensed and insured as their state requires, and they work on garage doors exclusively rather than as part of a broader handyman trade. That focus is why we can promise a first-visit fix on most brand-specific work. Call (844) 944-1933 for a free estimate and we’ll talk through what your job needs.
The Bottom Line
The DIY-versus-professional question for garage doors isn’t a single answer, because the door contains two entirely different kinds of work. The seals, rollers, weatherstripping, and controls are safe, straightforward, and worth doing yourself. The springs, cables, brackets, and anything that holds stored energy belong with a specialist, and the “undo” cost of getting those wrong is higher than the professional version would have been. For a Roslindale homeowner, the practical split is: handle the seasonal maintenance yourself, and call when the job involves the spring system in any form. If you’re unsure which category a repair falls into, that’s the moment to call – not after you’ve started.
When you need a specialist, Roslindale Garage Door Repair is focused exclusively on garage doors: repair, opener systems, new door installation, spring replacement, and parts supply. We work on the eight major brands you’re most likely to have – LiftMaster, Chamberlain, Genie, Clopay, Amarr, Wayne Dalton, Craftsman, and Raynor – which means faster diagnosis and no third-party parts delays. Every job is quoted and agreed before work starts.
Call Roslindale Garage Door Repair at (844) 944-1933 for a free estimate. Whether you’re sorting out which repairs you can take on yourself or you’ve decided it’s a job for us, we’ll give you a straight answer.
Written by the team at Roslindale Garage Door Repair.